when it rains, it pours, right? it does if you live in the northeast…
all.weekend.long.
no worries, thankfully it turned over to snow this morning, so “we’re all good. mm’kay?”
today’s forecast: wind and driving rain, to snow, to sunny and 50. it’s enough to make your head swirl… whiiiiiich [wait for it, wait for it…] is why today is the perfect day to talk swirly bread. i’ve had my eye(s) on this fun little project for a long time and yesterday was the day to have at it. setting aside the time it takes to work the color in, let’s start with focusing on the fact that sandwich bread is incredibly easy to make. who knew? not me… until yesterday. and I’m sure there are a gazillion healthy ways to make sandwich bread using whole wheat flour, natural food colorings (such as beet juice, green tea, etc.), and/or varying flavors. this post, is not one of those. we went with good old a.p. flour and gel coloring. {see the notes section below for more detail}. i would have liked to have added a fermented grape flavoring, in a wine glass, to the side of the mixing bowl – but it was only 2pm and, well, we’ll just leave it at that.
whisking right along… sandwich bread is incredibly easy to make. no bread machines are necessary. use rapid rise yeast so that you can simply dump it right in with the dry ingredients. the house smells INCREDIBLE during the last few minutes of making it. your kiddies will think you are awesome, until the novelty wears off… which is in about 2.4 minutes. right about the time they start staring you down and you know they have fruit by the foot on their minds. with a side of chocolate milk.

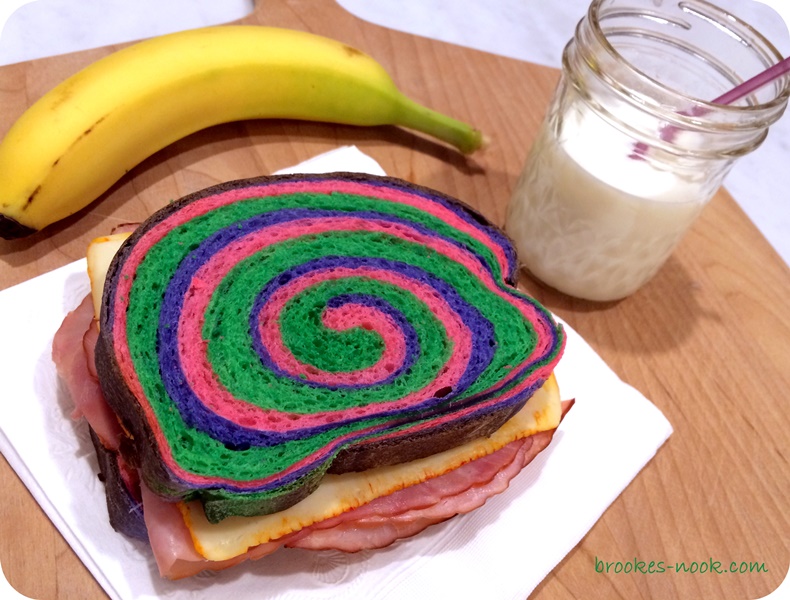
“RAINBOW” SWIRLY BREAD
ingredients.
1 cup milk plus 1 egg yolk (totaling 1 cup together)
3 cups all-purpose flour
2 ½ tablespoons granulated sugar
2 ¼ teaspoons (1 packet) active dry yeast *
1 ½ tablespoons unsalted butter, softened **
2 teaspoons salt
food coloring ***
directions.
- In a small, microwave-safe bowl, whisk milk and egg yolk together and microwave 30 seconds. Set aside.
- In a large bowl or bowl of a stand mixer, whisk together flour, sugar and yeast.
- Add milk mixture, butter and salt and stir to combine. Using dough hook and stand mixer or by hand on a lightly floured surface, knead dough until it comes together and is smooth and elastic, about 5 minutes with stand mixer or 10 minutes by hand.
- Divide dough into 5 equal pieces; place each piece in a small bowl and cover with a tea towel.
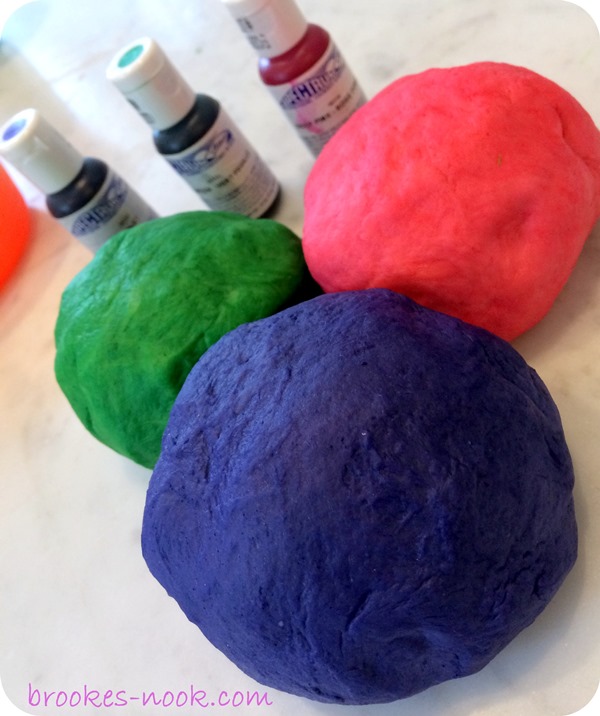
- Remove one piece from a bowl and place it on a plastic cutting board (or any surface you’re willing to cover with food coloring). Add several drops of food coloring (I’d start with 10 drops and keep adding as you go [less if you are using gel]). Using gloves to prevent your hands from getting dyed, begin to knead the food coloring into the dough, adding more food coloring until it is fully incorporated. This takes some time; just be patient and it will come together! i didn’t use gloves and although my hands were covered for the rest of the day, it was all gone today.
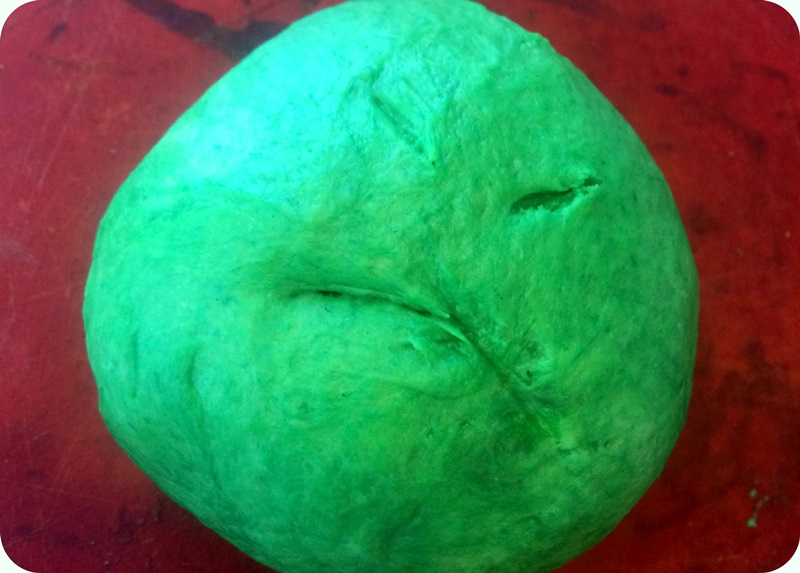
knead, knead, knead.
- Shape dough into a ball and return to its bowl. Repeat with remaining pieces of dough, dying each a different color (red + blue makes purple), being sure to wash your hands/gloves and your work surface between each color.
- Cover bowls with a tea towel or plastic wrap and let rise and rest until doubled, about 1 1/2 to 2 hours.
this is cranky dough. cranky dough has not had a chance to rest yet and therefore, will not roll with/for you. understood?
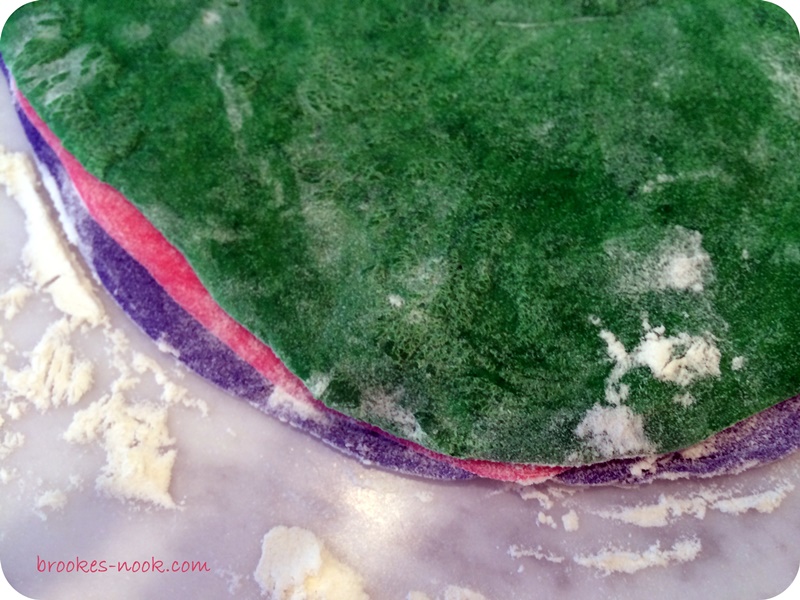
- When dough is risen, punch down dough. Remove red dough and roll out on a lightly floured surface into an 8-by-4-inch rectangle. Roll out yellow piece of dough into an 8-by-4-inch rectangle and place directly on top of red dough. Repeat with green, then blue, then purple doughs until you have a stack of 8-by-4-inch rectangles.
- Roll up dough tightly from the short end into a loaf. Place loaf in a lightly greased 9-by-5-inch loaf pan. Cover with a tea towel or plastic wrap and let rise until doubled, about 1 hour.
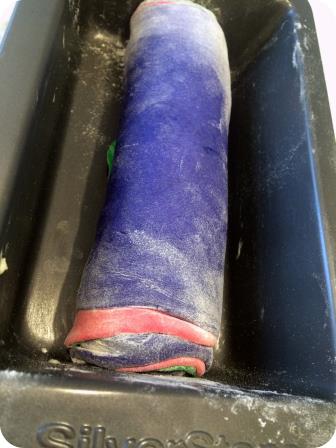
this is what mine looked like when i first placed it in the bread pan. after the second rise (about 1.5 hours) it filled out a bit more, yet never filled the entire pan. no worries… when baked, it grew.
- Heat oven to 375°F. Uncover dough and bake until browned on top and a thermometer inserted in the bottom center reads 190°, about 30 minutes.
- Remove loaf from pan and cool completely on a cooling rack before slicing.
notes.
* there is a difference between rapid rise and active yeast. active yeast is typically a larger granual and must be dissolved in water (100-110 degrees). rapid rise does not require that you “start” it in warm water (however, you will warm the liquid you are adding to the dry ingredients [which is why you heat the milk/egg in this recipe]. you are able to add it directly into the dry ingredients. make sure that is the type you use.
** if using butter straight out of the refrigerator, place the 1 ½ tbs. block in the microwave for 8 seconds. this should be the perfect amount. for more information on softening butter read more here.
** i used gel coloring because you get a much more rich color. you are more than free to use food coloring drops, yet your colors may be a little more muted. still fun though!

