
I’m going to call this stuff “sleepy bread” because unlike most other yeast-based recipes [insert short video of me rolling my eyes while having to get off of the couch 37 times, every 20 minutes, to punch down the dough, or knead it on a heavily floured surface which always means counter sweeping and floor mopping, or try to roll it out over and over again – only to have it shrink right back up in the shape of a big middle finger at me (just kidding, they aren’t THAT annoying…yes they are)] this is more of a “set it and sleep on it” type of gig…and name one person that isn’t looking for a gig where you can sleep 90% of the way through.
Summarized “how did I get to this recipe” story… I was happily faced with making dinner for a good friend that is a new mommy (new to her 3rd that is…um, 3, yah, no…it’s a really good time…everything is SMOOOOOOTH sailing with 3) and happens to be dairy//nut//egg free; not sure if you noticed, but everything I make is based on those three items. While recipe hunting, I came across this. Cool story, I know.
I’m sharing this because it is not only the easiest recipe I have ever made (second in line only to making a glass of ice water with ice cubes), but you can change this up in a million different ways.
ysk: [otherwise now known to mean “you should know”…just made that up, on my own, seriously] – if you click on the link I have included below, following “Recipe Credit,” you can go through the many different varieties you can make… cranberry/nut, rosemary/garlic, peanut butter cup/chocolate milkshake… kidding again, I would never put my standard dinner into a bread… trying to keep it healthy by watching my “bland carbs” intake… it’s hard work, but I’ve got this one.
Ingredients (sit down for this…extensive list ensues)
½ tsp RAPID RISE yeast*
1 ½ cups water
1 ¾ tsp salt
3 cups unbleached flour
Directions
Phase 1. (hope you took a break after ingredient collection – this part is a real back-breaker)
- Mix those ingredients together in a big bowl (which leaves room for rise) by hand (preferably a hand with a wooden spoon in it) until just mixed [should take you approx. 8.2 seconds]
Dough will look raggy. You shouldn’t care. - Cover with saran wrap
- Leave it on your counter for 12-18 hours.
Phase 2. (hope you slept through that 12-18 hours…during the day, overnight, whenever)
- Place an oven safe dutch oven** (lid on), in your large oven and heat to 450 degrees for 30 minutes. (re-read this because I did say ‘oven’ 3 times in one sentence, but I meant it)
- While the ovens heat (one inside the other) – flour up your counter (an area about the size of a dinner plate) and flour your hands…this dough sticks better than my toddler when she has a fever and needs 24/7 “maaaaaaaaaaahmy” attention.
- Pull the dough from the bowl, fold it over itself 2 times, shape it into a ball, place the saran wrap you used on the bowl, over the dough on the counter and leave it for 30 minutes while the ovens are heating. It will puff up a bit during the time that the overachievers will squeeze in some 20 minute smartphone workout app (you know that’s you Michelle).
- Once the dutch oven has heated for 30 minutes, WITH MITTS, pull it out of the oven, put the ball of dough (obviously less the saran wrap at this point) in and put the lid back on.
- No need to oil the dutch oven. At least not if it is enamel covered. No sticking concerns.
- Put the dutch oven back in the oven for another 30 minutes. Go do something (not productive though, that’s annoying).
- After 30 minutes, remove the lid and cook for another 12-15 minutes.
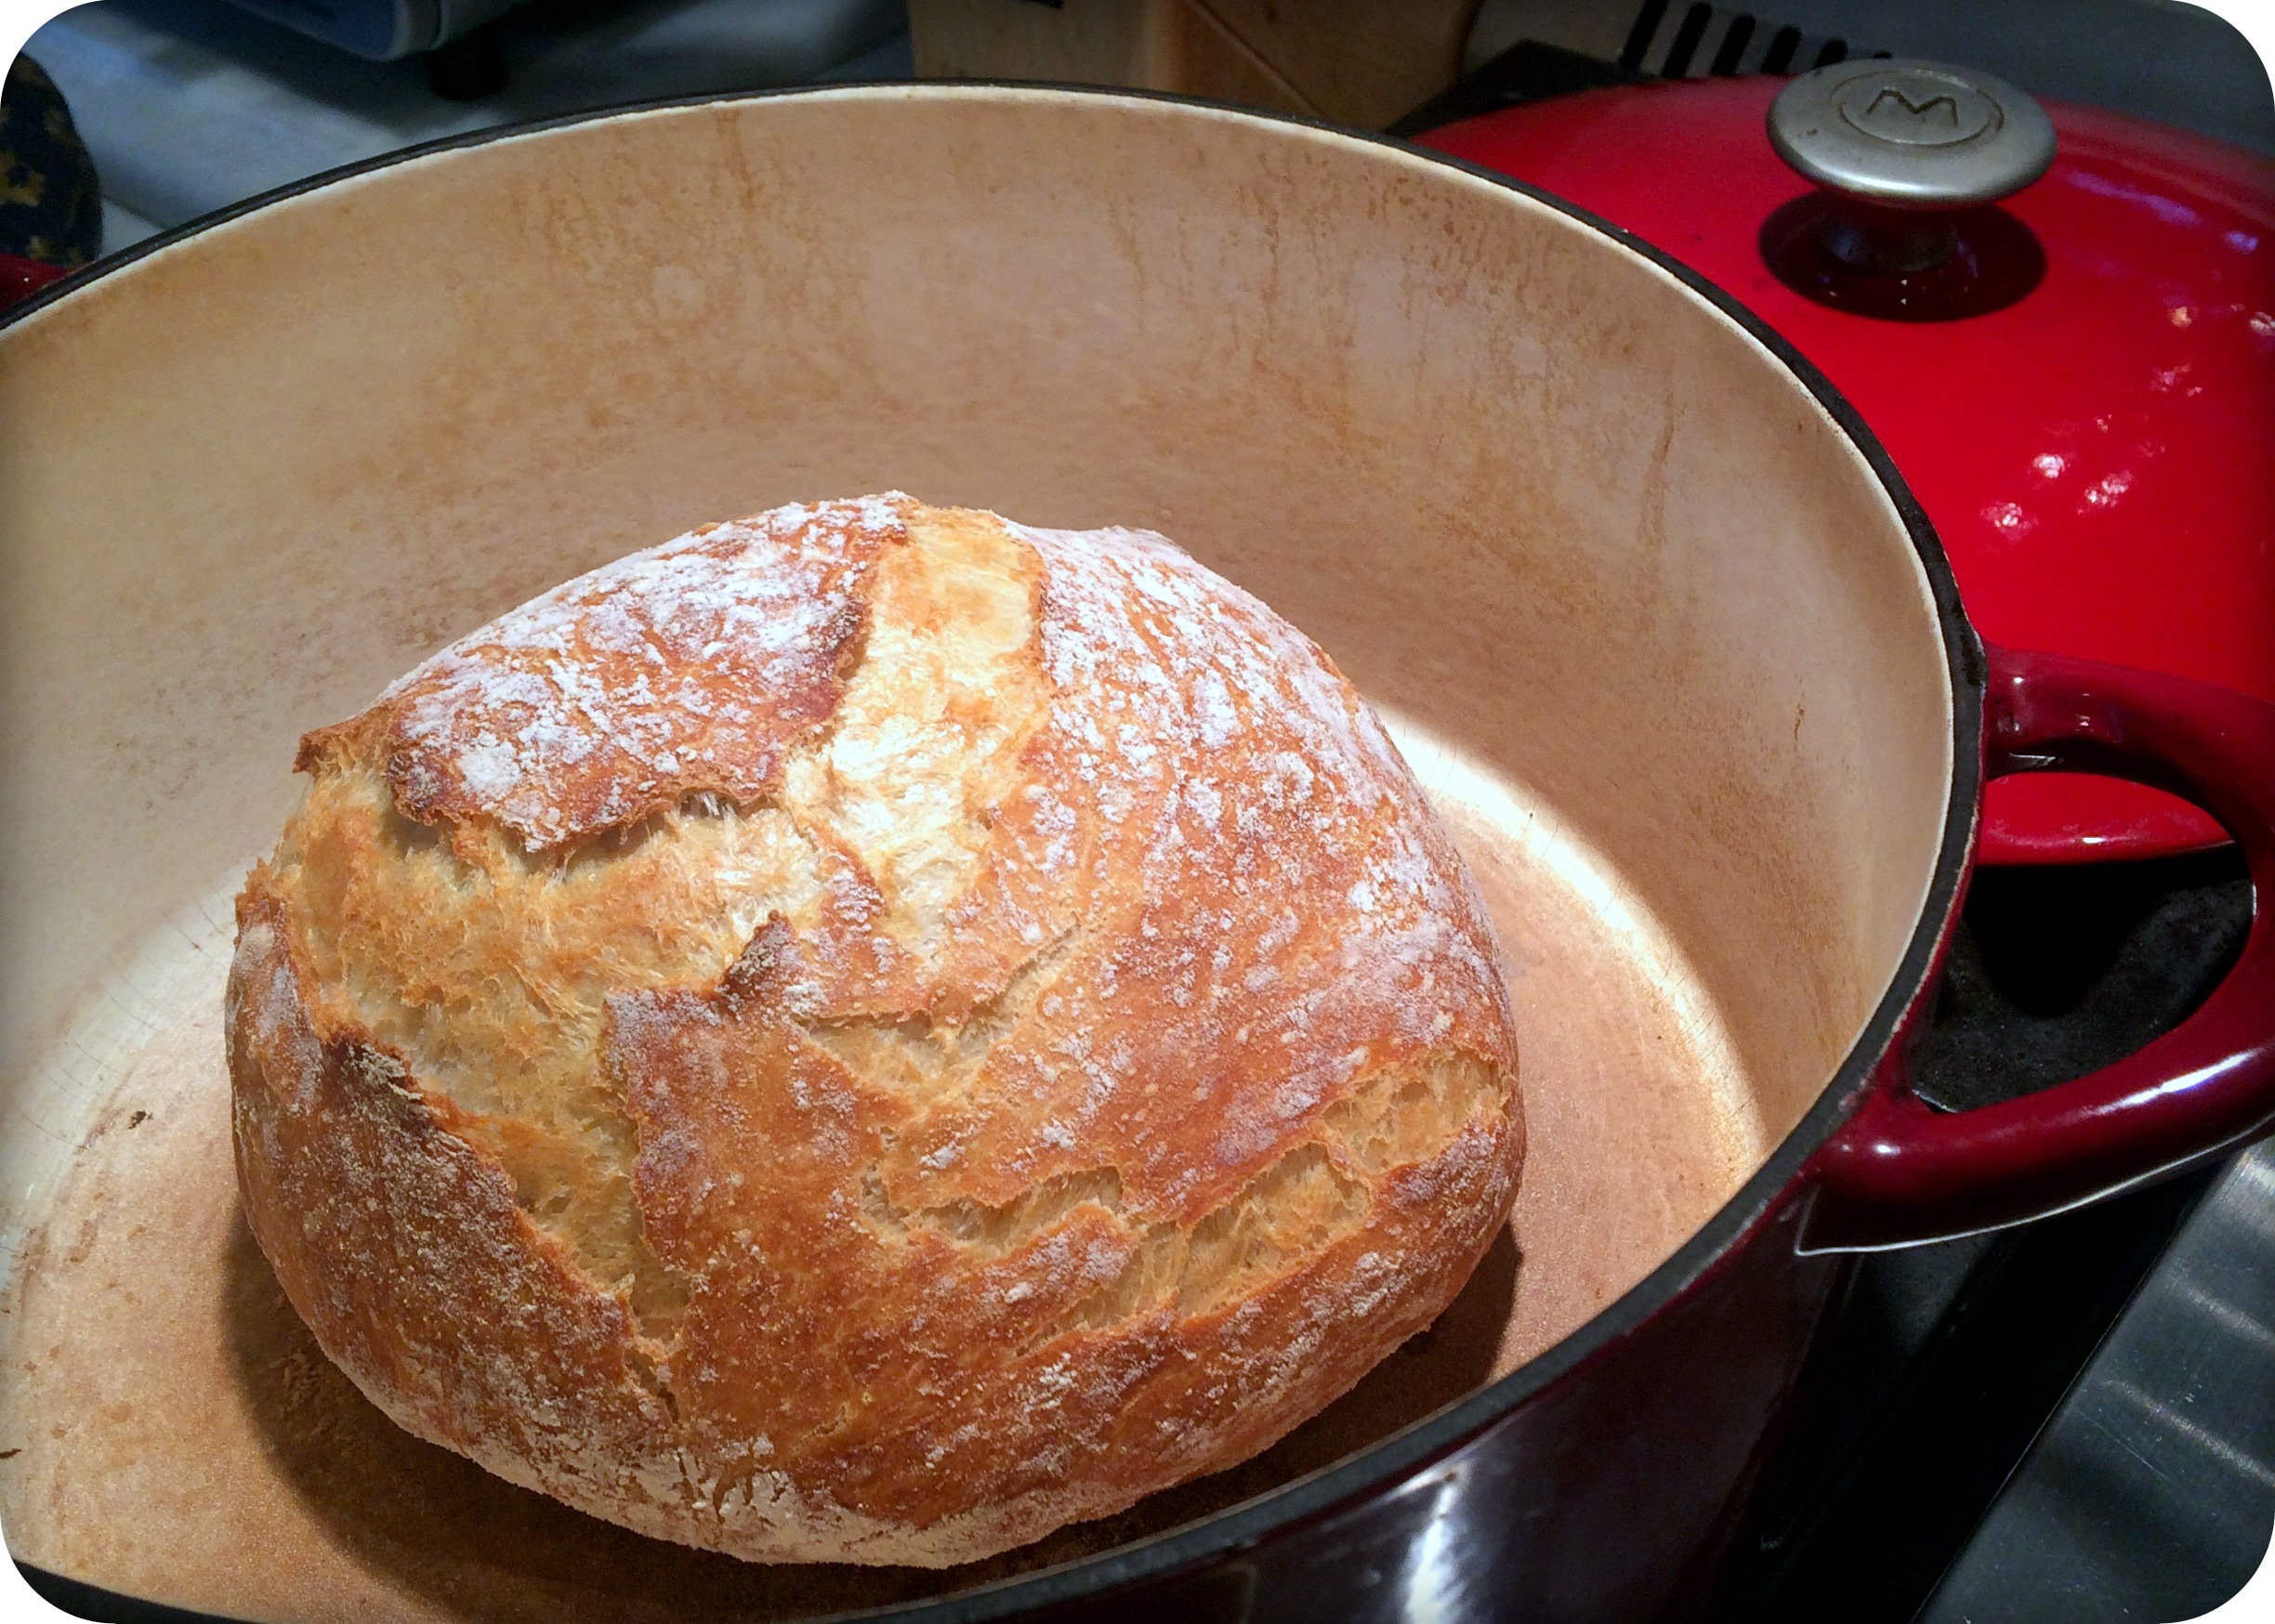
Open the lid, et voila. It’s like magic.
Phase 3.
- You are done.
Notes:
*Rapid Rise and active Rise yeasts are different. Active rise requires that you first give the yeast a kick start in some water within some specific temperature range with a bit of sugar. THIS recipe, as I mentioned, is so easy that it doesn’t even ask you to do that. RAPID RISE yeast gets poured directly out of those tiny square packets, into the dry ingredients.
** You do not need a dutch oven. According to the recipe source, you can use anything with a lid that can take the heat. However, all I actually have (with a matching lid) is a dutch oven, so that’s what we got baking with.
I haven’t even tried this yet. As I said, I made it for a friend last night. Once she lets me know if it’s edible, I’ll update this. I assume, however, that it is.
The original recipe was through the NY Times… you can try this one if you would like…
RECIPE CREDIT: CRUSTY BREAD

Brook you are truly amazing!